Fix Common Receipt Management Problems
Managing receipts for business travel in the U.S. can be frustrating and time-consuming. Lost, faded, or incomplete receipts, along with mixing personal and business expenses, often lead to delays, errors, and compliance risks. Here's how to solve these issues effectively:
- Lost or Faded Receipts: Paper receipts are easy to misplace and thermal paper fades quickly. Digitize receipts immediately to avoid losing critical details.
- Incomplete Receipts: Ensure receipts meet IRS standards, including vendor name, date, itemized list, total amount in USD, and payment method.
- Mixing Personal and Business Expenses: Use dedicated business credit cards to separate expenses and avoid confusion.
To streamline the process, establish clear, IRS-compliant policies, digitize receipts promptly, and organize expenses by trip and category. Tools like EasyTripExpenses can automate receipt management, making it easier to track, categorize, and generate audit-ready reports.
Managing Business Travel Expenses Made Easy
Common Receipt Management Problems in US Business Travel
Managing receipts is a frequent headache for business travelers in the US. These challenges can slow down reimbursements, overburden finance teams, and even expose companies to tax audit risks. Let’s break down the most common issues and their impact on expense management.
Lost or Faded Receipts
Physical receipts are notoriously easy to lose. They might fall out of a wallet, get left behind at a restaurant, or vanish somewhere between the airport and the office. Even if travelers manage to hold onto them, thermal paper receipts often fade quickly. Exposure to heat, light, or friction - like being carried in a wallet - can render the ink unreadable in just a few weeks.
Without a readable receipt, employees can’t prove their expenses. This leaves finance teams with two bad options: reject the claim or dig through alternative records like credit card statements. Either way, it’s a time sink. Employees waiting for reimbursement get frustrated, and finance teams waste hours chasing backup documentation.
Lost or illegible receipts also spell trouble during tax audits. Missing documentation can lead to disallowed deductions, penalties, and even extra tax bills. A single missing receipt for a big-ticket item - like a $500 hotel stay or a $300 client dinner - can raise serious red flags.
Incomplete or Non-Compliant Receipts
Another issue? Many receipts fail to meet IRS standards. A valid receipt should include the vendor’s name, transaction date, an itemized list of purchases, the total amount in USD, and the payment method.
Credit card receipts are often the culprit. They might only show the total charge without breaking down what was purchased. For example, a restaurant receipt might show $85.00 but provide no details about the items ordered, making it hard to confirm if the expense was legitimate and business-related.
Handwritten receipts or those from small vendors can be equally problematic. They might lack a date, fail to clearly name the vendor, or show an amount without explaining what was purchased. Receipts printed in languages other than English add another layer of complexity for finance teams and auditors.
When receipts are incomplete, finance teams have to follow up with employees for clarification or additional documentation. This back-and-forth delays approvals and reimbursements. If employees can’t provide the missing information - especially if the transaction happened weeks or months ago - the expense may be denied altogether.
Mixing Personal and Business Expenses
Business trips often lead to a mix of personal and business transactions on the same credit card. A single statement might include a business lunch, a personal dinner, hotel charges, and a shopping spree - all jumbled together.
Sorting out these mixed expenses is tedious and prone to mistakes. Employees might accidentally submit personal expenses as business-related, or they might forget to include legitimate business expenses buried in their statements. Submitting personal expenses violates company policy and can lead to disciplinary action, while missing business expenses leaves employees out of pocket for costs they incurred on behalf of the company.
For finance teams, verifying these mixed expenses is a painstaking process. They need to cross-check each line item on a credit card statement against the expense report to ensure everything is categorized correctly. This manual review not only takes extra time but also increases the chances of errors, making it harder to maintain accurate financial records.
The problem gets trickier when personal and business expenses appear on the same receipt. For instance, an employee might buy lunch for themselves and a client at the same restaurant, resulting in one receipt with mixed charges. Separating these expenses requires detailed notes and clear documentation about which part is reimbursable. Without this clarity, the entire expense might get flagged during an audit or rejected by the finance team.
Given these recurring challenges, having clear, IRS-compliant receipt management policies is essential for smoother operations.
Set Clear and US-Compliant Receipt Management Policies
Laying out clear policies is the cornerstone of effective receipt management. Without them, you risk inconsistent documentation, delayed approvals, and potential compliance headaches.
Define Required Receipt Details
Establish exactly what details every receipt should include for business expenses. At a minimum, receipts must show the transaction date, amount in USD, vendor name, and a description of the goods or services purchased. For lodging, require receipts regardless of the cost. For any single expense of $75 or more, a receipt is mandatory.
When it comes to meals and entertainment, include additional documentation. Specify the business purpose, discussion topics, why the expense was necessary, and the relationship to attendees. For instance, a note like "business development meeting with a potential client" can help justify the expense.
Consistency is key, so clarify formatting expectations. Dates should follow the MM/DD/YYYY format, amounts must display in USD with the $ symbol, and non-English receipts should include translated details. If you're tracking vehicle-related expenses, make it clear whether employees should submit receipts for gas, maintenance, and repairs (for actual expenses) or if they’re using the standard mileage rate.
To reduce confusion, provide examples of receipts that meet your requirements versus those that don’t. This minimizes rejected submissions and keeps things running smoothly.
Set Expense Submission Deadlines
Timely submissions are critical for staying compliant with tax regulations. The IRS generally requires that expenses be substantiated within 60 days, though some companies extend this to 120 days.
Set a clear deadline for submitting expenses, such as 7 days after a trip concludes. This ensures accountability, prevents employees from forgetting receipts, and speeds up reimbursements, which in turn boosts employee satisfaction. It also lightens the load for finance teams.
Be explicit about what happens if deadlines are missed. For example, you might automatically reject late submissions or require manager approval. Some companies offer a one-time grace period for first-time offenders but enforce stricter rules for repeated delays. Automated reminders - like an email sent 3 days after a trip and another on day 6 - can help employees stay on track.
Clear deadlines also support the separation of business and personal expenses, which is essential for accurate financial records.
Separate Business and Personal Expenses
It’s not just about collecting receipts - keeping business and personal expenses separate is vital for compliance and financial transparency. Mixing these expenses can jeopardize the legal separation between the business and its owners, putting personal assets at risk.
Require employees to use dedicated business credit cards for all work-related expenses to avoid any overlap with personal spending. If a business card is mistakenly used for personal purchases, employees should mark those charges as personal, reimburse the company promptly, and file the transaction separately.
Be clear about what qualifies as an approved expense and set spending limits to prevent ambiguity. This clarity helps finance teams quickly identify any policy violations. Using expense management software with automated categorization rules can further reinforce these boundaries in real time.
Make it clear that submitting personal expenses as business-related is against company policy and could lead to disciplinary action. At the same time, ensure employees don’t absorb legitimate business costs without seeking reimbursement, as this can complicate financial reporting and hurt morale.
With these policies in place, you’ll be ready to explore digital tools and organizational strategies to make receipt management even more efficient.
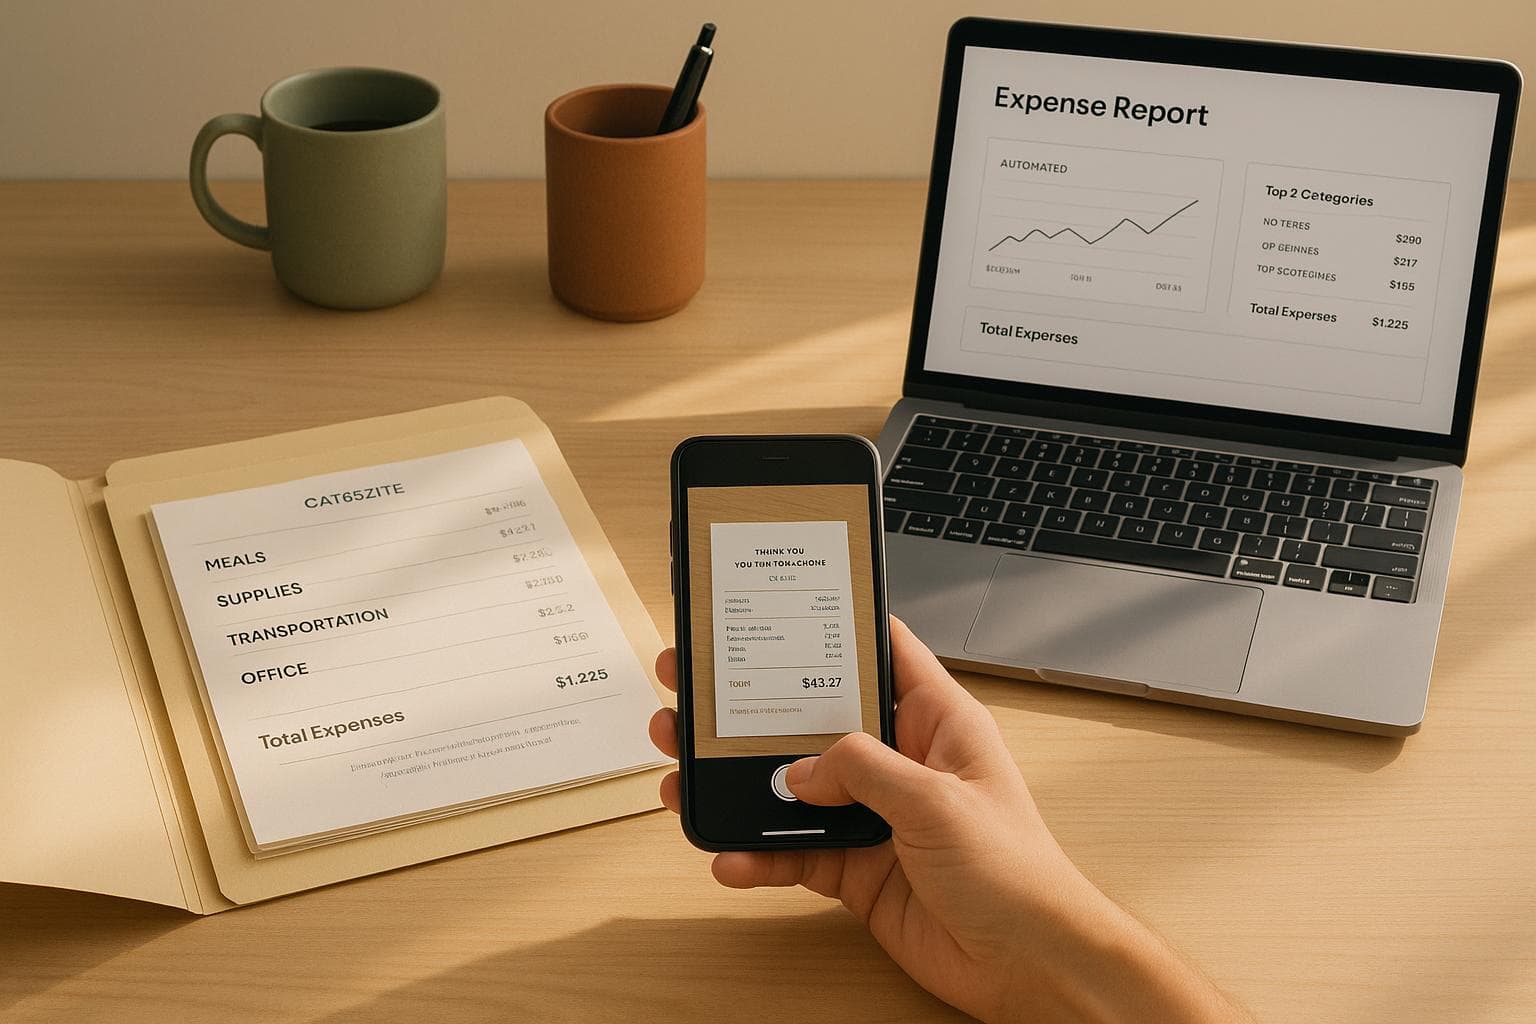
Digitize Receipts Immediately for Accuracy and Security
Paper receipts are fragile - they can tear, fade, or get lost altogether. The longer you delay digitizing them, the higher the chance of losing important expense records. By going digital immediately, you create a dependable record that’s always accessible when you need it.
Adopt a Digital-First Habit
The best time to digitize a receipt? Right when you receive it. Whether you’re leaving a restaurant, filling up at a gas station, or checking out of a hotel, snap a photo with your smartphone right away. This ensures you capture key details like the date, vendor name, amount in USD, and any itemized charges while the receipt is still clear and legible.
Thermal paper receipts - those flimsy ones you often get at gas stations or grocery stores - are particularly vulnerable. They can fade within weeks, especially when exposed to heat, sunlight, or even the oils on your fingers. By the time you’re ready to file an expense report, that receipt could be completely blank. A digital copy, however, locks in all the information exactly as it appeared at the time of purchase.
When photographing receipts, use good lighting and make sure the entire receipt is in the frame and easy to read. For extra-long receipts, take multiple photos to capture all the details. Save these images in a dedicated folder on your phone or upload them directly to your expense management system.
This habit takes the stress out of managing receipts. No more worrying about paper slips cluttering your wallet or briefcase. Once digitized, your receipts are safely stored, ensuring you have everything you need for reimbursements or tax purposes. Afterward, keep these records securely backed up for smooth expense tracking.
Simplify Storage with EasyTripExpenses
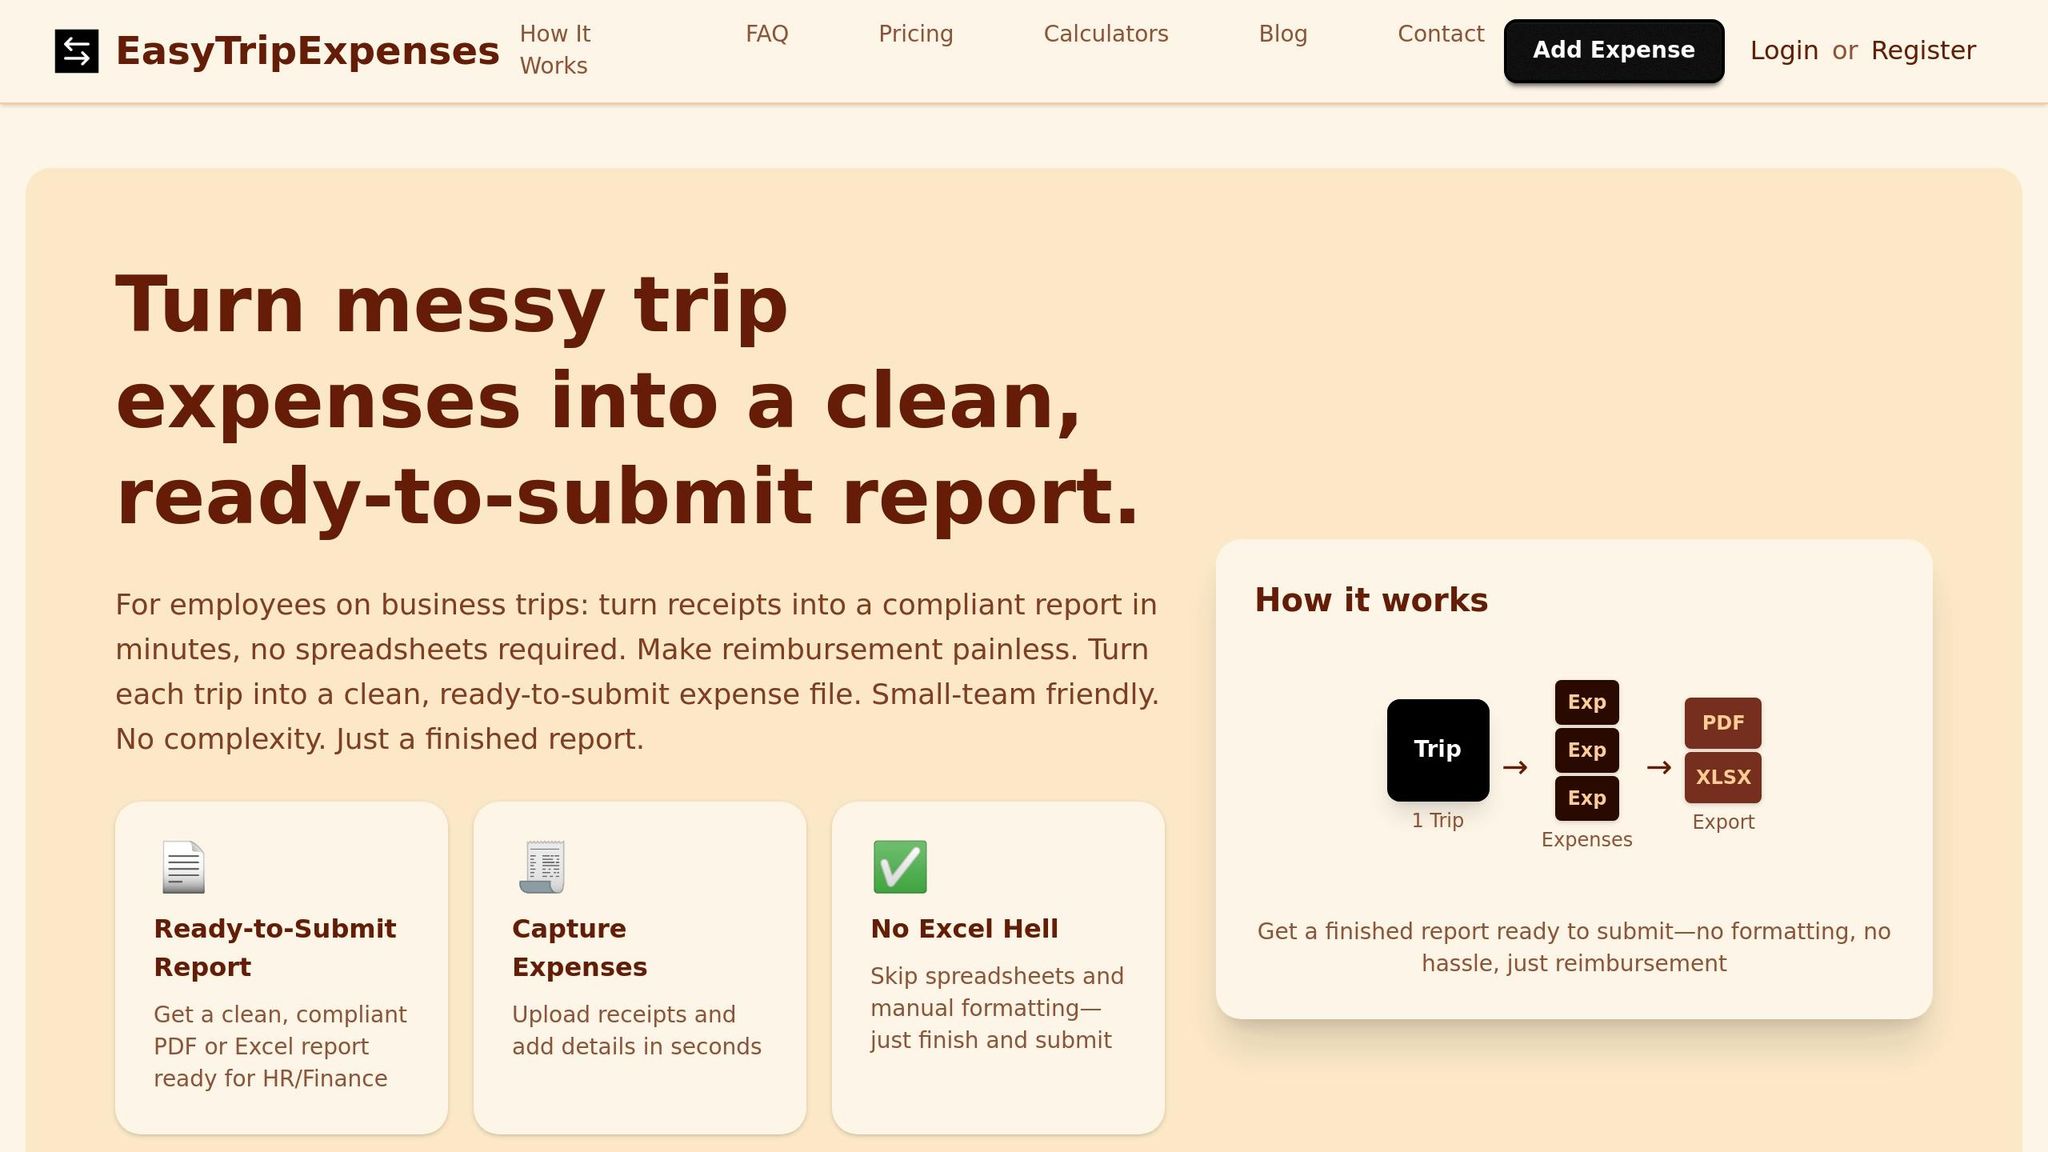
Once your receipts are digitized, proper storage is essential for easy access. EasyTripExpenses makes this process effortless by allowing you to upload receipt images or PDFs directly from your phone or computer. As soon as you capture a receipt, log in to the platform, attach the file to the related expense, and add useful details like the business purpose or attendees.
The platform also lets you categorize expenses as you go - whether it’s for meals, lodging, transportation, or office supplies. This real-time organization saves you from scrambling later to recall what each charge was for. You can even add notes for context, like “Client dinner to discuss Q1 project” or “Taxi from airport to hotel.”
With EasyTripExpenses, all your receipts are stored in one secure location. No more hunting through email attachments or scrolling through your photo gallery when it’s time to file a report. On the Pro (Yearly) plan, the platform retains your trip history for up to five years, giving you peace of mind for audits or tax filings. If you’re traveling internationally, the built-in currency converter automatically adjusts foreign amounts to USD.
The system also accommodates manual expense entries for charges without physical receipts, like parking meters or tolls. This flexibility ensures every business expense is accounted for, even when traditional documentation isn’t available.
sbb-itb-386cb5b
Organize Expenses with US-Friendly Structures
Once you've digitized your receipts, the next step is to organize them in a way that makes expense tracking and reporting straightforward. A clear and consistent structure not only simplifies preparing expense reports but also makes audits less of a headache. The goal is to align your system with US accounting practices for smooth processing.
Group Expenses by Trip and Category
A practical way to manage expenses is to group them first by trip and then by category. Think of each business trip as its own separate unit. For example, if you traveled to Chicago from March 10, 2025, to March 12, 2025, you’d group all related expenses - lodging, meals, transportation - under one umbrella for that trip. This approach gives you a clear picture of each trip's total cost and ensures no detail gets overlooked when creating your report.
Within each trip, break down the expenses into common US business categories, such as:
- Lodging: Hotels, Airbnb rentals
- Meals and entertainment: Restaurant meals, client dinners, coffee meetings
- Transportation: Flights, rental cars, taxis, rideshares, parking, tolls
- Fuel: Gas station purchases
- Miscellaneous: Conference fees, Wi-Fi charges, baggage fees, tips
These categories are widely used for documenting travel-related deductions and make it easier to calculate totals and identify any unusual charges. Plus, this setup simplifies reconciling per diem allowances.
If you're using EasyTripExpenses, the platform is designed to support this trip-and-category structure. As you upload receipts, you can assign them to the correct categories right away, streamlining the entire reporting process.
Use Consistent Labeling and Categorization
Consistency is the backbone of effective expense management. Using the same labels, categories, and naming conventions across all your trips makes your records easier to search, simplifies tax preparation, and minimizes errors during audits.
Create a naming system for your trips and stick to it. A format like "City - Purpose - Date" works well. For instance, "Denver - Sales Conference - 04/15/2025" or "Boston - Client Meeting - 06/22/2025" provides instant clarity about where you went, why, and when. This kind of structure is especially helpful for reviewing expenses or when your finance team needs to verify a charge.
Apply the same consistency to your expense descriptions. Avoid vague entries like "dinner" or "taxi." Instead, use specific labels like "Client dinner with ABC Corp at Ruth's Chris Steakhouse" or "Uber from hotel to client office." Detailed descriptions not only clarify past expenses but also strengthen your documentation for audits.
Stick to standard categories that align with your company's expense policy. For example, use consistent terms like "Lodging", "Meals", "Airfare", "Ground Transportation", "Car Rental", "Fuel", "Parking and Tolls", "Communications", and "Office Supplies." If you label an Uber ride as "Transportation" one month and "Ground Travel" the next, your reports can become inconsistent and confusing.
For meals, the IRS requires detailed documentation. Record the amount, date, business purpose, and the names of attendees. For example, label a meal expense as "Lunch meeting with Jane Doe and John Smith to discuss Q2 project planning." This level of detail strengthens your records and ensures compliance.
EasyTripExpenses makes it easy to maintain consistency. The platform remembers your categorization choices, so future trips automatically follow the same structure. You can also add detailed comments to each expense entry, ensuring all important details are captured while they're fresh in your mind. With the Pro (Yearly) plan, the platform retains your trip history for five years, helping you maintain complete and organized records that meet IRS requirements.
When documenting, remember to use miles for distances and Fahrenheit for temperatures to align with US standards.
Generate Clean and Audit-Ready Reports
Once you've organized your expenses, the next step is to compile them into a clear, audit-ready expense report. This not only simplifies reimbursements but also ensures compliance with IRS requirements.
Create Consolidated Reports
A consolidated expense report gathers all the expenses from your trip into a single, comprehensive document. To meet IRS guidelines for business expense deductions, make sure to include the date, vendor, amount (in USD), expense category, and business purpose for every entry.
Start with a summary page that provides a quick breakdown of the total amount claimed, organized by major categories like lodging, meals, transportation, and miscellaneous expenses. For example, a three-day trip to Atlanta might total $1,245.67, broken down as follows: $487.00 for lodging, $312.45 for meals, $398.22 for transportation, and $48.00 for miscellaneous expenses. This overview allows reviewers to quickly assess your spending.
When detailing expenses, you can organize them either chronologically or by category. For lodging, include the dates, nightly rates, and location. For meals, be specific - list not just the meal but also the purpose and attendees, such as: "Dinner with Sarah Johnson and Mike Chen from Acme Corp to finalize Q3 partnership terms" instead of simply writing "dinner."
Transportation expenses require extra care. If you rented a car, include the rental period, daily rate, fuel costs, and mileage if applicable. For rideshares, note the pickup and drop-off locations along with the business reason. If you used your personal vehicle, calculate mileage using the IRS standard rate, and keep a log with details like the date, starting point, destination, miles driven, and purpose.
Don’t forget smaller expenses - parking fees, tolls, baggage charges, and tips are all deductible when business-related. Even a $15 airport parking fee can add up over time.
If any expense seems unusually high, include a brief note explaining the special circumstances. This can help avoid questions during an audit and keep the process smooth.
Now that your expenses are ready, let’s look at how automation tools can make report generation effortless.
Use EasyTripExpenses for Automated Reporting
With your receipts digitized and categorized, EasyTripExpenses takes care of the heavy lifting by automatically generating a complete expense report. A few clicks are all it takes to create a polished report ready for submission.
The platform offers both PDF and Excel export options. PDFs are great for submitting to your finance department or archiving since they’re secure and less prone to accidental changes. Excel files, on the other hand, offer flexibility - you can modify formatting, add calculations, or integrate the data into your accounting software. Both formats include key details like dates, vendors, amounts in USD, expense categories, and any custom notes you’ve added.
For international travelers, EasyTripExpenses simplifies currency conversion. If you’ve paid in euros, pounds, or another currency, the platform automatically converts those amounts to USD using the current exchange rate. This ensures consistency and keeps your report compliant with IRS standards.
Another helpful feature is the ability to add detailed comments to each expense. Whether it’s documenting the business purpose of a meal or explaining a unique charge, these notes stay right in the report, making audits easier and keeping everything in one place.
On the Pro (Yearly) plan, EasyTripExpenses offers even more convenience. You can upload up to 50 receipts per trip, and the platform retains your trip history for five years. This creates a secure, organized archive that meets IRS record-keeping requirements. Whether it’s a quick overnight business trip or a week-long conference with dozens of expenses, your records are always accessible and ready when you need them.
Conclusion
Managing receipts during business travel doesn’t have to be a headache. With clear policies, quick digitization, and organized systems, you can tackle these challenges effectively.
Start by establishing receipt policies that align with U.S. regulations. These policies should outline the required details, qualifying expenses, and deadlines for submission. When employees have a clear understanding of what’s acceptable, it eliminates confusion and ensures smooth reimbursements. Plus, having well-documented policies can be a lifesaver during IRS audits, where proper records can make a huge difference in your deductions.
Digitizing receipts immediately after each transaction is another key step. This eliminates the risks that come with relying on paper receipts - like losing them or dealing with faded print - and provides a dependable backup for accurate record-keeping.
Finally, organize receipts by trip and category. Use consistent labels and add detailed notes to make your records audit-ready. This way, creating compliant expense reports becomes a simple and efficient task.
Tools like EasyTripExpenses bring all these practices together in one place. With features like receipt uploads, expense categorization, currency conversion, and secure history storage, managing travel expenses becomes seamless. Incorporating these strategies will help simplify your receipt management process while keeping you compliant.
FAQs
How does digitizing receipts help avoid problems like losing them or dealing with faded copies?
Digitizing receipts solves the hassle of dealing with lost or faded paper copies by keeping them securely stored in a digital format. This way, you can access and retrieve them whenever you need without any stress.
With secure cloud-based storage, receipts can be neatly organized, reducing clutter and improving accuracy in expense tracking. It also makes it easier to follow company policies and tax rules, cutting down on the time and effort usually spent on compliance.
What information should a receipt include to comply with IRS requirements?
To comply with IRS guidelines, a receipt must clearly include the following details: the date of purchase, the amount paid (in USD if applicable), the vendor or merchant’s name, and a description of the items or services purchased. For business-related expenses, it's also a good idea to note the purpose of the expense or how it relates to your work.
When it comes to meals and entertainment expenses, you’ll need to add a bit more information, such as the names of attendees and the business purpose of the meeting. Keeping receipts organized and thorough not only ensures compliance but also helps prevent headaches during potential audits.
How do business credit cards make it easier to separate personal and business expenses while traveling?
Using a business credit card while traveling is a smart way to separate personal and work-related expenses. These cards create a straightforward record of all your business purchases, making it much easier to monitor spending and manage receipts.
By keeping these expenses apart, you can simplify reporting, minimize mistakes, and stay aligned with company policies and tax rules. On top of that, many business credit cards come with helpful tools like detailed statements and categorized spending reports, making the reconciliation process much smoother.