How To Digitize Receipts For Business Trips
Digitizing receipts makes managing business expenses much easier. By snapping photos of receipts with your smartphone, you can organize data, save time, and reduce errors. Tools like EasyTripExpenses use OCR (Optical Character Recognition) to extract details like merchant names, dates, and amounts, simplifying expense tracking. Digital records are also accepted by the IRS, making tax preparation less stressful. Here's what you need to know:
- Why digitize? Avoid lost or faded receipts, streamline tax preparation, and improve accuracy.
- How to start: Use a smartphone app or a dedicated scanner for high volumes.
- Best practices: Take clear photos, flatten receipts, and use good lighting.
- OCR tools: Automatically extract and organize receipt details but review data for accuracy.
- Expense management: Upload receipts, categorize them, and generate reports in formats like PDF or Excel.
Switching to digital receipts saves time and keeps your records secure in the cloud, making expense management far more efficient for business travelers.
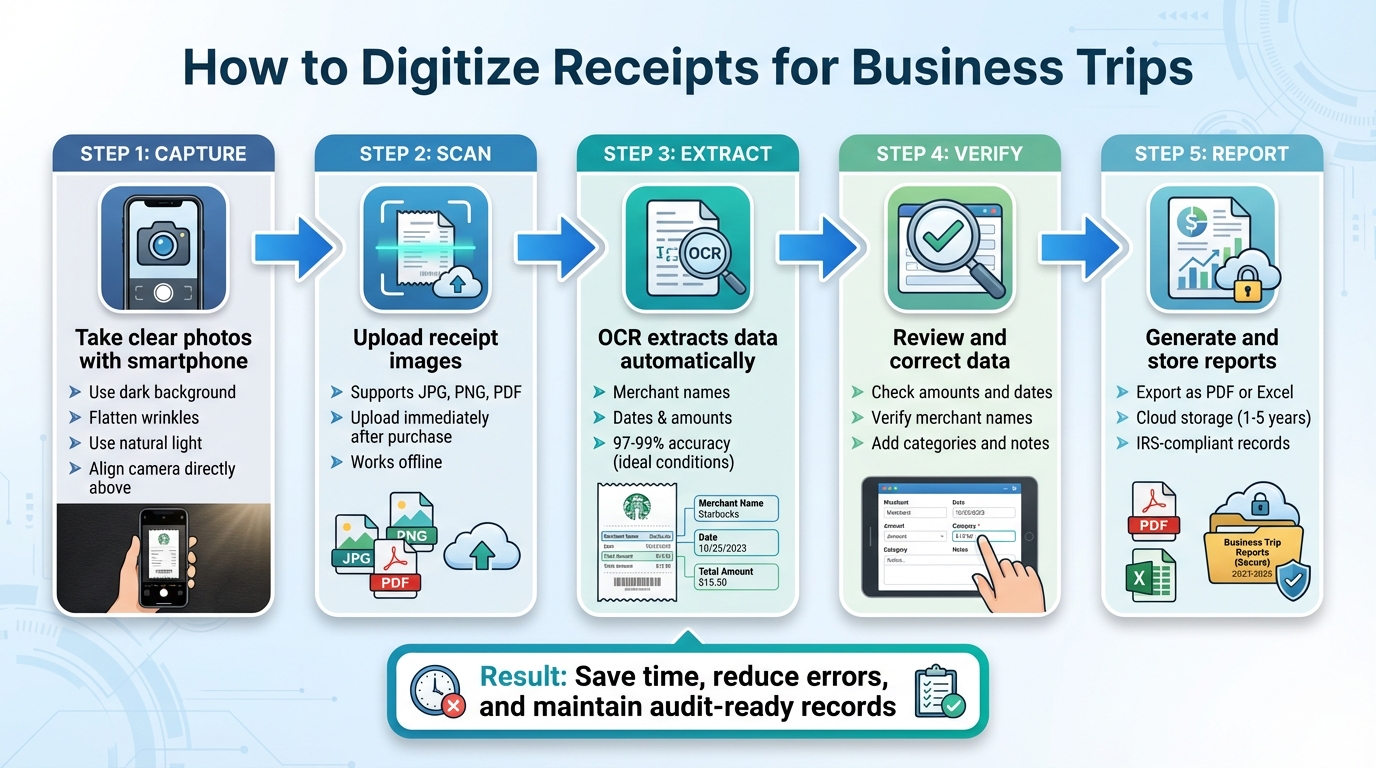
5-Step Process for Digitizing Business Trip Receipts
How to Effortlessly Convert Scanned Receipts to Expense Reports with AI Agent
How to Scan Receipts: Tools and Methods
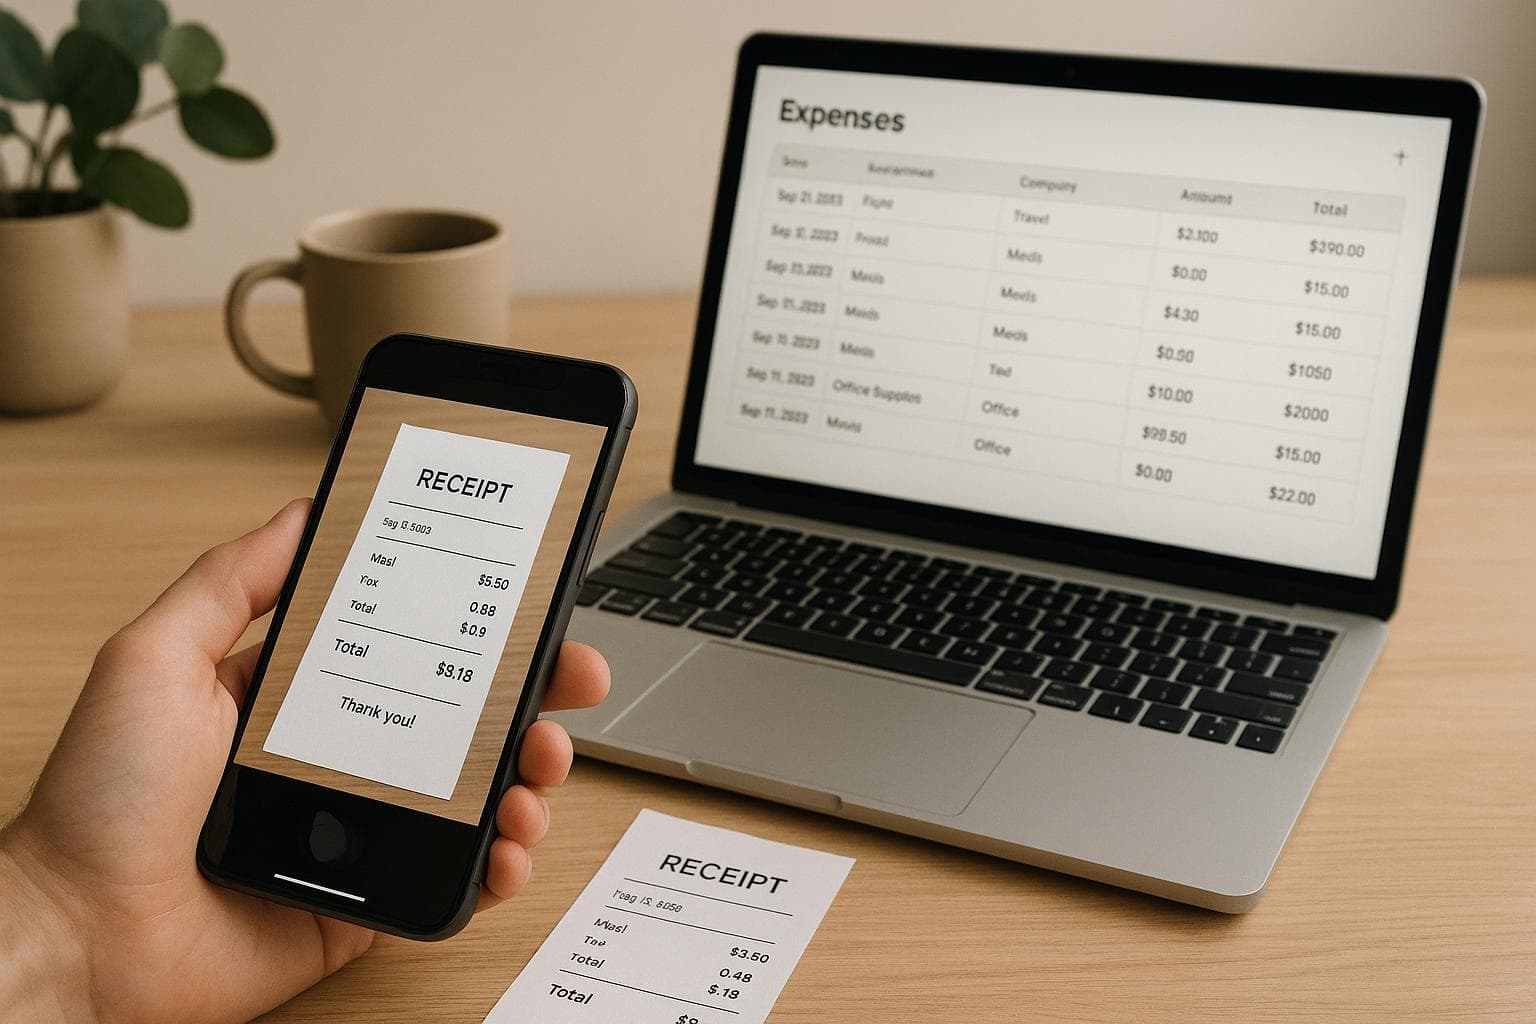
Digitizing receipts has become a game-changer for managing expenses, especially during business trips. Let’s explore some practical tools and methods to make this process seamless. Unsurprisingly, your smartphone is one of the most efficient tools for this task. With its high-resolution camera and portability, it’s always ready to help you scan receipts on the fly.
Scanning Receipts with Your Smartphone
Modern receipt scanning apps utilize AI-powered Optical Character Recognition (OCR) to extract key details like vendor names, dates, amounts, and expense categories directly from your photos. Many of these apps offer features like one-tap capture with auto-cropping, making the process quick and hassle-free. Even better, some apps work offline, which is a lifesaver in areas with limited connectivity.
Take EasyTripExpenses, for example. This app lets you upload receipt images straight from your phone’s camera or photo library. Once uploaded, you can organize expenses into categories, add notes, and even generate professional reports - all without juggling multiple tools.
Tips for Taking Clear Receipt Photos
The quality of your receipt scans depends heavily on how you take the photo. Here are some tips to ensure clear, readable images:
- Use a dark, solid background: This helps your camera detect the edges of the receipt more accurately.
- Smooth out wrinkles: Flatten the receipt to avoid shadows or blurred sections.
- Leverage natural light: Position the receipt near a window for soft, even lighting, but avoid direct sunlight or harsh shadows. If natural light isn’t available, use your phone’s flashlight for more balanced illumination.
- Align your camera properly: Hold your phone directly above the receipt, keeping it centered and straight. Enable gridlines on your camera if you need help with alignment.
- For long receipts: Take overlapping photos to capture all details without missing anything.
While smartphones are perfect for occasional scanning, those dealing with higher volumes might benefit from a dedicated scanner.
When to Use a Dedicated Scanner
For anyone managing large quantities of receipts - think dozens or even hundreds at a time - a dedicated scanner can save both time and effort. These scanners are designed for batch processing, equipped with automatic feeders, and produce consistently sharp images at resolutions of 600 PPI or higher. Unlike smartphones, they offer locked-in focus and optimized lighting, eliminating common issues like glare or distortion.
High-volume scanners can process between 40 and 80 pages per minute, making them indispensable for businesses needing precise, audit-ready records or long-term storage. To put it into perspective, scanning 200 receipts manually with a smartphone could take an hour, while a dedicated scanner can finish the same task in just 2–5 minutes.
That said, for business travelers or anyone needing to scan receipts on the go, smartphones remain the most practical and accessible choice.
Using OCR to Extract and Organize Receipt Data
After scanning a receipt, OCR (Optical Character Recognition) steps in to transform the image into digital data. This process not only saves time by reducing manual entry but also cuts down on errors in expense reporting. Let’s break down how OCR handles this transformation and organizes the data.
What OCR Does for Receipt Digitization
OCR takes text from receipt images and converts it into a machine-readable format. It pulls out essential details like merchant names, dates, total amounts, taxes, and even individual line items. The process involves scanning the image, cleaning it up for better readability, and then analyzing text patterns to extract key information. Advanced OCR systems often format this data into structured outputs like JSON, making it easy for other software to process. For instance, expenses can be automatically sorted into categories such as Food, Transportation, or Lodging. Under ideal conditions - like with clear, high-quality printed receipts - leading OCR tools can achieve accuracy rates as high as 97–99%. However, real-world scenarios, like crumpled or poorly lit receipts, can lower these rates.
Checking and Correcting OCR Data
Even with automation, reviewing OCR results is essential. According to Daniel Vidal, CSO at Expensify:
Even top-tier OCR may only correctly process about 85% of receipts.
Issues like faded ink, handwritten notes, or receipts in poor condition can lead to errors. To ensure accuracy, take a moment to compare the OCR-extracted data - like amounts, dates, and merchant names - against the physical receipt. Handwritten entries, in particular, are a common stumbling block for OCR systems. Additionally, when using expense management software, make sure the supplier names in your system match those on the receipts exactly, as even small differences can cause recognition problems. A quick manual check can help avoid errors during audits or when submitting reports.
sbb-itb-386cb5b
How to Upload and Manage Receipts in EasyTripExpenses
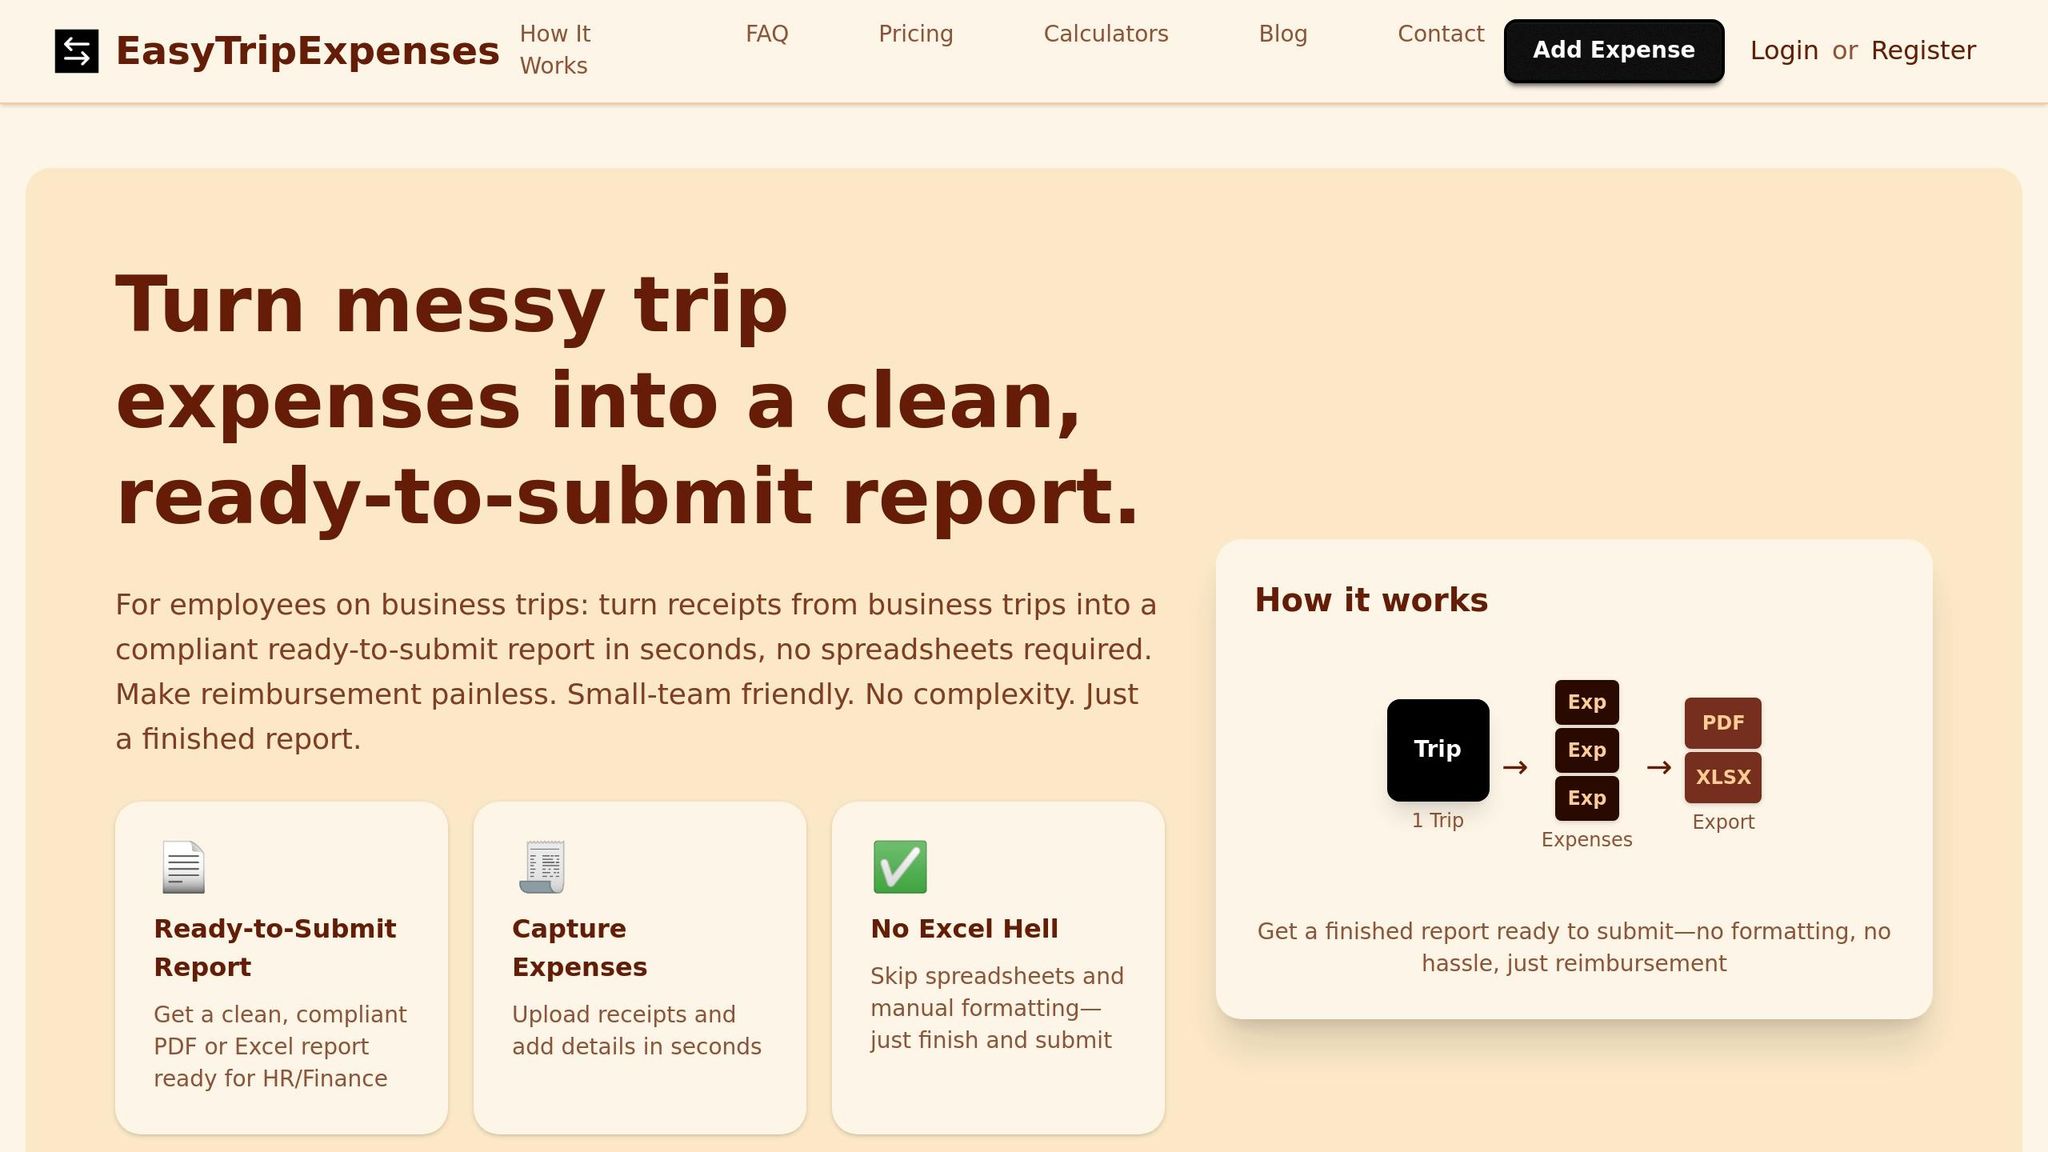
Uploading Receipts to EasyTripExpenses
Once you've digitized your receipts and cleaned up their data, it's time to upload them to EasyTripExpenses. The platform supports JPG, PNG, and PDF formats, making it versatile for most receipt types. Simply select your active trip and use the upload feature to add your files.
Keep in mind, upload limits depend on your subscription plan:
- Starter Plan: 5 uploads per trip and 1 active trip.
- Pro Monthly Plan: 20 uploads.
- Pro Yearly Plan: 50 uploads.
This tiered approach ensures you can choose a plan that matches your travel needs. For the best results, upload receipts as soon as you make a purchase. Capturing details like the business purpose or attendee names right away makes categorizing them later much easier.
Adding Categories and Notes to Expenses
Once your receipts are uploaded, assign them to specific categories such as Transportation, Meals, Lodging, or Office Supplies. This step ensures your reports are accurate and ready for audits.
Adding notes is also crucial. Include details like the business purpose, project association, or attendee names to provide a complete picture of each expense. Doing this immediately after uploading helps you retain context and stay compliant with reporting requirements.
Creating and Storing Expense Reports
Generating PDF and Excel Reports
Once your receipts are uploaded and sorted, creating an expense report is simple with EasyTripExpenses. With just a few clicks, you can generate reports in both PDF and Excel formats, depending on your needs. PDFs work best for official submissions and long-term archiving, while Excel files are ideal for analysis and seamless integration with accounting tools.
The platform automatically compiles all your receipt data into a clear summary of your trip expenses. It even converts international expenses into U.S. dollars for you, saving time and reducing the chance of errors from manual calculations.
Storing Digital Receipts Long-Term
EasyTripExpenses ensures your trip history and receipts are securely stored in the cloud, with retention periods based on your chosen plan. According to IRS guidelines, businesses typically need to retain supporting documents for at least three years, and up to seven years in cases of significant discrepancies.
With cloud storage, your receipts are not only encrypted and backed up automatically but also remain easily accessible. Each receipt's metadata is preserved from the moment it’s uploaded, helping to verify authenticity and simplifying audits. These storage options are designed to meet a variety of needs, as detailed in the plan comparison below.
EasyTripExpenses Plan Comparison
Finding the right plan depends on how often you travel and how long you need to keep records. Here's a quick breakdown:
| Plan Name | Upload Limits per Trip | Report Formats | Retention Period |
|---|---|---|---|
| Starter | Up to 5 uploads | PDF, Excel | 1 year |
| Pro (Monthly) | Up to 20 uploads | PDF, Excel | 3 years |
| Pro (Yearly) | Up to 50 uploads | PDF, Excel | 5 years |
The Pro (Yearly) plan stands out with its five-year retention period, perfect for frequent travelers who need to keep detailed records. Priced at $60 annually (or $5 per month when billed yearly), it offers great value for those managing extensive travel documentation.
Conclusion
Switching to digital receipts can make managing expenses quicker, more precise, and far less stressful. By simply snapping clear photos of receipts with your smartphone and using OCR (Optical Character Recognition) technology to extract the data automatically, you can overhaul the way business travel expenses are handled. Centralizing your records in a single system adds another layer of convenience to the process.
Companies that embrace modern expense management methods save valuable time for every receipt processed. Plus, digital records provide robust support during tax audits, as the IRS accepts digital receipt images as valid documentation.
With EasyTripExpenses, this entire process is streamlined into one user-friendly platform. You can upload receipts, categorize expenses, and generate polished reports in just a few minutes. This not only simplifies report preparation but also ensures your records are audit-ready.
FAQs
How can I improve the accuracy of OCR when scanning receipts?
To get precise OCR results when digitizing receipts, start with clear, high-quality images. Make sure the lighting is good, and aim for a scanning resolution of 300 DPI or higher. This creates a solid foundation for accurate text recognition.
Before running the OCR, take some time to preprocess the images. This might include reducing noise, fixing any skewed angles, and boosting contrast to make the text stand out more clearly. These steps can significantly improve the accuracy of the OCR process.
Once the OCR is complete, go over any flagged or low-confidence results manually. Tools that display confidence scores can be especially helpful here, allowing you to quickly spot and correct potential errors. This extra step ensures your digitized receipts are as error-free as possible.
Why should I use a dedicated scanner instead of a smartphone for scanning large volumes of receipts?
Using a dedicated scanner for handling a large number of receipts comes with some clear benefits. These scanners are built for speed and convenience, often equipped with automatic feeders that let you process multiple receipts at once. Plus, they provide superior OCR (optical character recognition) accuracy, ensuring your digital copies are sharp and easy to read.
Another advantage is their ability to handle different paper sizes and types, making them perfect for bulk scanning tasks. If you find yourself returning from business trips with piles of receipts, a dedicated scanner can save you both time and effort compared to individually scanning each receipt with your smartphone.
How does EasyTripExpenses manage currency conversion for international receipts?
EasyTripExpenses takes the hassle out of managing international receipts by automatically converting them into your chosen currency. This means all your travel expenses are recorded clearly and accurately, no matter where they come from.
Thanks to its built-in currency conversion, you can focus on your business trip without stressing over exchange rates or tedious manual calculations. The platform keeps your expense reports consistent and ready for submission with ease.