How to Categorize Receipts for Business Trips
Managing receipts for business trips doesn’t have to be a headache. Properly categorizing and organizing receipts ensures compliance with IRS rules, speeds up reimbursements, and helps you track spending effectively. Here’s the core of what you need to know:
- IRS Requirements: Receipts must show the amount, date, place, and business purpose. For expenses over $75 or lodging, detailed documentation is mandatory.
- Expense Categories: Common categories include transportation, lodging, meals (50% deductible), incidentals, and event fees.
- Organizing Tips: Use a clear digital folder structure (e.g.,
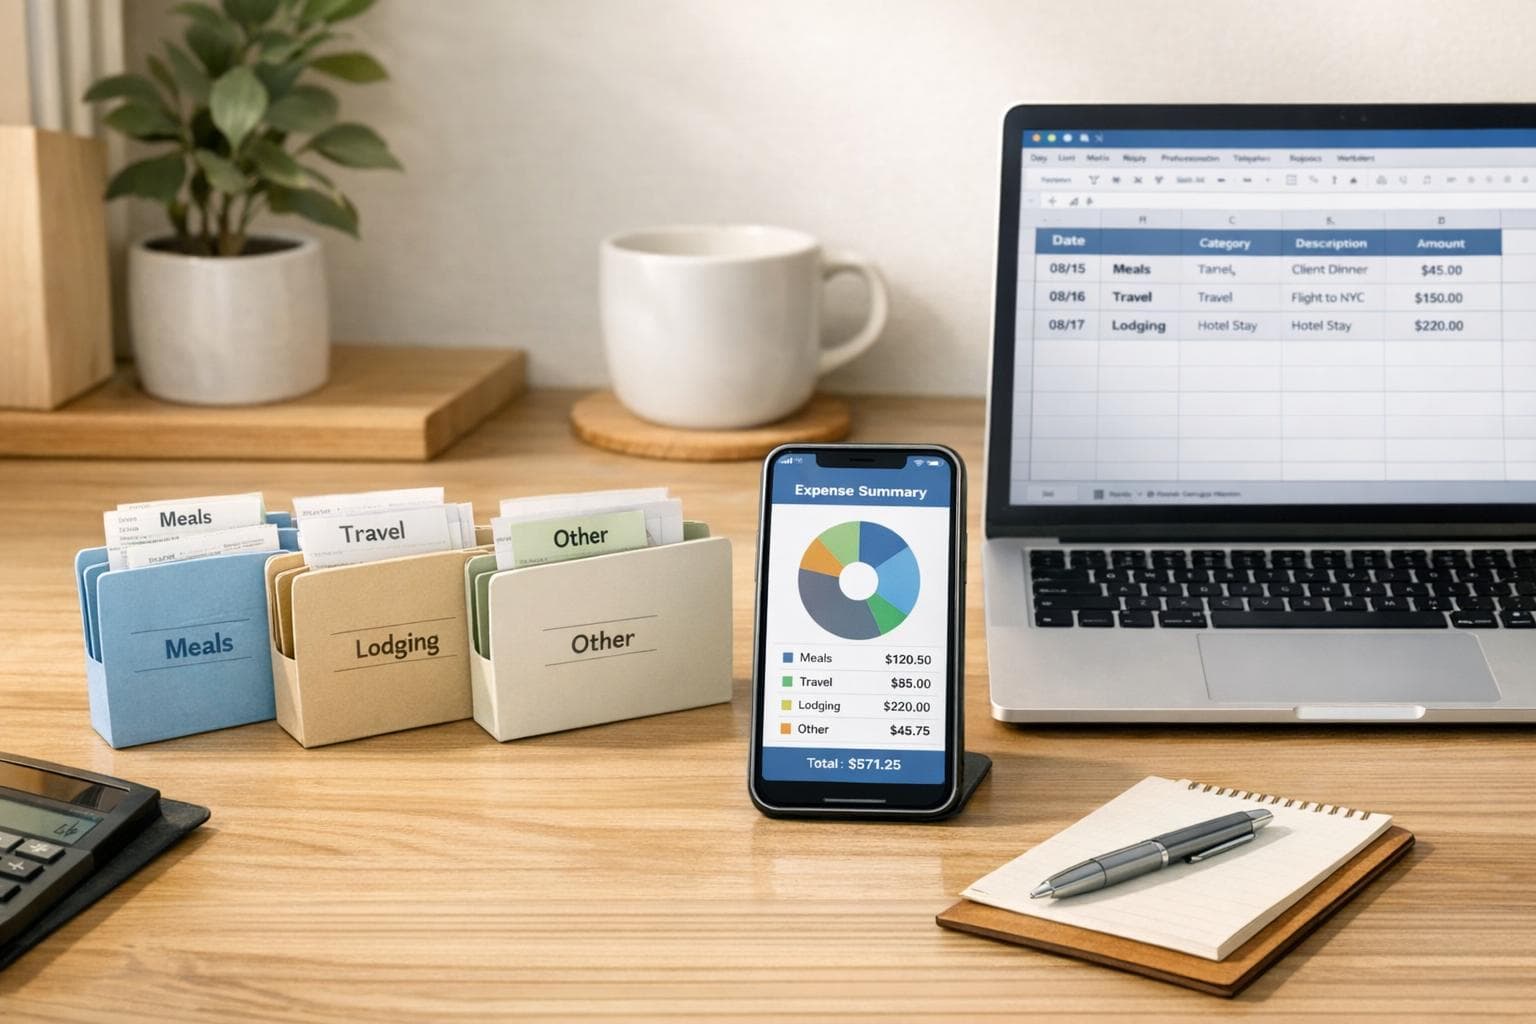
2026-01-09_Vendor_Category) and save receipts as PDFs or images. Annotate details immediately to avoid errors. - Tools: Apps like EasyTripExpenses simplify categorization and reporting with features like OCR and automated filing.
Business Trip Receipts and Requirements
What Qualifies as a Business Trip Expense
The IRS defines business trip expenses as those that are both "ordinary and necessary." In simple terms, an ordinary expense is one that's typical in your industry, while a necessary expense is something helpful and appropriate for your business activities. However, expenses that are lavish, extravagant, or personal in nature won't qualify as deductions.
To meet the criteria of being "away from your tax home", your trip must take you beyond a normal workday and require an overnight stay for rest. It's important to note that your tax home isn't necessarily where you live - it’s where your primary business operations occur.
| Expense Category | Examples That Qualify |
|---|---|
| Transportation | Airfare, train, bus, or car fares between home and the business destination; taxi or shuttle rides between airports, hotels, and work locations |
| Lodging & Meals | Hotel stays for overnight trips and non-entertainment business meals (subject to a 50% deduction limit) |
| Vehicle Expenses | Either actual costs (like gas, oil, and repairs) or the standard mileage rate of $0.67 per mile for 2024; tolls and parking fees related to business travel |
| Communications | Business-related calls, faxes, and fees for other communication services during the trip |
| Incidentals | Expenses like dry cleaning, laundry, and tips for services tied to your qualifying travel |
Keep in mind that expenses tied to assignments lasting more than one year are not deductible. Similarly, costs for attending conventions are deductible only if the event directly benefits your trade or profession.
Understanding these categories is just the first step. Next, let’s break down the specific receipt details you’ll need to stay compliant.
Required Receipt Information for Compliance
To meet IRS requirements, your receipts must clearly show the amount, date, location, and business purpose of each expense. Lodging expenses, regardless of the dollar amount, always require documentary evidence. For other expenses, receipts are only mandatory if the amount is $75 or more.
Receipts should follow these formatting guidelines:
- Dates: Use the MM/DD/YYYY format (e.g., 03/15/2024).
- Amounts: All figures should be in USD and include a dollar sign ($).
- Vendor Details: The name and location of the vendor must be visible.
For lodging, an itemized receipt is essential. It should clearly separate room charges, meals, and any additional services. This ensures that personal expenses, such as gym fees or movie rentals, are excluded from your business deductions.
The business purpose is another critical element. A receipt alone isn’t enough - you need to document why the expense was incurred or the benefit it provided to your business. For instance, instead of writing "dinner", be more specific: "Dinner meeting with Client ABC to discuss Q2 contract renewal."
Being thorough with your receipts can save you a lot of trouble. Now, let’s look at common mistakes people make when managing these documents.
Common Receipt Mistakes to Avoid
One of the most frequent errors is failing to provide documentary evidence for all lodging expenses, even for small amounts. Missing itemized hotel bills can easily lead to compliance issues.
Another mistake is not separating personal and business expenses at the time of purchase. If your trip combines business and personal activities, only the business-related portions of expenses like transportation, meals, and lodging are deductible.
Lastly, don’t delay in recording your expenses. The IRS expects records to be kept in a timely manner. Use an account book, diary, or log to document expenses as they occur. Waiting too long often results in vague or incomplete records, which may not hold up under audit scrutiny.
How To Record Travel Expenses? - Tax and Accounting Coach
How to Choose a Categorization System

Business Trip Expense Categories and Tax Deductibility Guide
Selecting the right categorization system depends on your tracking goals. Ideally, it should align with your tax compliance and billing requirements. Pairing this system with solid receipt documentation practices, as discussed earlier, ensures smooth financial management.
A practical method is to start with standard expense categories and layer in additional details - like project codes or date ranges - when needed. For example, a consulting firm might classify a $150 dinner receipt as "Meals" for tax purposes, tag it with a client code such as "ABC-2026" for billing, and add the date "01/09/2026" for quarterly reporting.
Keep the number of categories manageable. In 2022, Penn State University partnered with Huron Consulting to simplify their expense system, slashing their categories from 1,000 to just 200. This change improved financial oversight and made it easier for employees to categorize expenses correctly. On the flip side, organizations overly reliant on vague categories like "Miscellaneous" often lose clarity - some reported over 60% of spending falling into these buckets between 2019 and 2021.
Once you've streamlined your categories, start by reviewing the standard ones.
Standard Expense Categories for Business Trips
Most business travel expenses fall into five main categories: Transportation, Lodging, Meals, Incidentals, and Event Fees. These align with IRS guidelines, making it easier to calculate deductions.
| Expense Category | Common Examples | Typical Tax Deductibility |
|---|---|---|
| Transportation | Airfare, car rentals, Uber/Lyft, tolls, parking | 100% |
| Lodging | Hotels, Airbnb, corporate housing | 100% |
| Meals | Client lunches, travel dinners, team meals | 50% |
| Incidentals | Tips, laundry, business internet | 100% |
| Event Fees | Conference registration, booth space | 100% |
Transportation includes everything from airfare to rideshares between your hotel and meetings. Lodging covers overnight accommodations like hotels or short-term rentals. Meals, which are only 50% deductible, must be tracked separately from fully deductible expenses. Incidentals include smaller charges like tips or internet fees, while event fees cover items such as trade show booth rentals or conference registrations.
Once these core categories are in place, consider adding secondary options for deeper insights.
Secondary Categorization Options
Secondary categorization methods can add client-specific details and help uncover spending trends. For instance, tagging expenses with project or client codes enables precise billing. A marketing agency might label receipts with codes like "Nike-Q1" or "Tesla-Launch" to ensure accurate invoicing.
Organizing expenses by date helps identify patterns, such as seasonal spikes in airfare during conference months. Tracking by month or quarter can also guide future budgeting. Some companies even group expenses by location or individual traveler to detect outliers and set up custom approval workflows.
Building a Category Reference System
A category reference list promotes consistency in expense reporting. Include category codes and examples in a concise document, and update it quarterly to reflect any tax law changes.
"The Brex app drives compliance by letting our employees upload receipts in seconds and eliminating tedious expense reports."
– Yasmin Siddiqui, Senior VP of Finance, Made by Nacho
Store this guide in an easily accessible place, like your company intranet or expense management platform, so employees can reference it while traveling. This ensures consistent classifications, simplifies audits, and helps your expense data integrate seamlessly with your general ledger.
A well-organized categorization system not only simplifies expense tracking but also ensures you're always prepared for audits.
Setting Up Your Receipt Organization System
Start by building a clear digital structure for your records. Begin with a master folder for your business, then create subfolders for administrative and financial documents. Within the financial folder, add a year-specific folder like "2026 Receipts", and divide it into categories such as "Travel", "Meals", "Office Supplies", and "Client Meetings." This setup keeps everything organized and easy to find.
Consistency in file naming is key. Use a format like YYYY-MM-DD_Vendor_Category (e.g., 2026-01-09_Delta_Travel) to make receipts searchable and maintain chronological order. Save files as PDFs whenever possible, though formats like .png and .jpg are also acceptable for IRS compliance.
Creating a Digital Folder Structure
A simple three-level folder system works best: Business Name > Financial > 2026 Receipts. Within "2026 Receipts", create folders for each major expense category. This structure aligns with how most accounting software organizes data, making it easier to import records later. To protect your files, back everything up to secure cloud storage - technology failures happen, and the IRS advises keeping receipts for at least three years.
Whenever possible, request vendors to email receipts directly. This eliminates the need for scanning and simplifies the process. For example, in 2024, Gale Garner, the Accounting Manager at Explore Utah Valley, saved around 10 hours each month by using an automated system that transferred receipt PDFs and GL codes directly into QuickBooks. Garner’s success stemmed from obtaining digital receipts upfront and allowing employees to code their purchases in real time.
To maintain the system’s effectiveness, make it a habit to capture receipts promptly during travel.
Capturing and Storing Receipts During Your Trip
Take a photo of every receipt as soon as you receive it. Use your smartphone camera or a scanner app with OCR (Optical Character Recognition) capabilities, which can automatically extract key details like the date, vendor, total amount, and tax. This reduces manual entry errors and saves valuable time during reporting.
Annotate each photo immediately with important details. For instance, note who attended a meal, which client you met, or the business purpose of the expense. In 2024, James Streeter, AP Manager at Westland Construction, implemented a mobile app system that allowed employees to photograph receipts instantly. This change reduced monthly expense processing from 90 hours to just two hours.
"What used to take 90 hours a month, takes two. Card users get a notification, take a picture of their receipt from the app, and we close the books."
– James Streeter, AP Manager, Westland Construction
Always ask for itemized receipts that show specific items, quantities, unit prices, and taxes. The IRS requires detailed receipts for travel and entertainment expenses of $75 or more, as credit card statements alone don’t establish the business purpose. Dedicate 10 minutes at the end of each travel day to review and categorize your captured receipts. This habit prevents backlogs and ensures nothing gets overlooked.
Managing Physical Receipts
Even with a digital system, physical receipts still need attention until they’re digitized. Organize them by month or category using labeled envelopes or an accordion folder. Write the business purpose, project name, or attendee names directly on the receipt in a blank area before the ink fades. Once scanned and verified in your digital system, you can usually discard the physical copy since the IRS accepts clear digital receipts.
Adopt a "don’t set it down, put it away" mindset. Download email invoices or take screenshots of payment confirmations immediately after each transaction. Use a temporary holding spot - like a designated envelope in your travel bag - for receipts you can’t process right away. Then, set aside a weekly "Admin Day" to scan and file any remaining physical receipts before they get lost or damaged.
sbb-itb-386cb5b
How to Categorize Receipts for Reporting
Once you’ve got your receipts stored in an organized system, the next step is categorizing them to ensure accurate reporting. This process not only helps with tax compliance but also gives you a clear view of your spending. You can categorize receipts in three main ways: by expense type, by date, and by project or client. Using these methods together creates a complete and well-structured financial picture.
Let’s break it down, starting with categorizing by expense type.
Categorizing by Expense Type
Assigning receipts to specific expense categories is key for both tax purposes and internal reporting. Common categories include:
- Travel: Covers airfare, lodging, and other trip-related costs.
- Business Meals: Includes meals with clients or team members.
- Transportation: Encompasses rideshares, tolls, parking, and similar expenses.
- Professional Development: Includes things like conference fees or training sessions.
This system aligns with how most accounting software organizes data, making tax filing much easier. For example, travel expenses are typically fully deductible, while client meals are only 50% deductible. If you’re tracking mileage, note that the IRS standard mileage rate for 2025 is 70 cents per mile. Keep a detailed log with the date, destination, and business purpose for these trips.
For shared expenses, like a personal phone plan used partly for work, divide the cost proportionally based on business usage. Also, label receipts to indicate whether they’re "Reimbursable" (paid by an employee), "Non-reimbursable" (covered by a company card), or "Billable" (to be charged to a client). These distinctions help keep your records clear.
Categorizing by Date
Organizing receipts by date is another effective method, especially for confirming timelines and ensuring expenses match your business activities. The IRS requires proof of when expenses occurred, so keeping receipts in chronological order can simplify audits. Use a consistent naming format for files, such as "YYYY-MM-DD_Vendor_Category", and maintain a spreadsheet with columns for the date, vendor, amount, category, and business purpose. This makes it easy to reconcile statements and spot spending trends at a glance.
For multi-day trips, date-based categorization ensures expenses - like meals - fall within the correct travel window, which is especially helpful for calculating per diems. Remember, the IRS requires you to keep business receipts for at least three years after filing the related tax return. If you underreport income by more than 25%, the retention period extends to six years.
When expenses are tied to specific work assignments, categorizing by project or client can be particularly useful.
Categorizing by Project or Client
For trips or expenses linked to specific clients or projects, it’s a good idea to tag receipts with project-specific labels or codes. This makes it much easier to track billable expenses and generate client-specific reports. For example, label receipts as "Billable" if they’ll be charged back to a client, and for client-related meals, make sure to document the names of attendees to support the business purpose.
If a receipt covers multiple projects, split the costs clearly. For instance, if you stayed three nights and spent two days with Client A and one day with Client B, allocate the lodging costs accordingly. Establishing a consistent set of project codes or client naming conventions before starting your trip will help maintain uniformity across your records.
Research shows that 19% of expense report errors result in extra time and costs, with companies spending an average of over 3,000 hours annually correcting these mistakes. Proper categorization from the beginning can save time, reduce errors, and ensure your receipts are ready for final expense reporting.
Preparing Your Final Expense Report
After organizing your receipts into categories, the next step is creating a report that aligns with compliance standards and budgeting requirements. Once receipts are sorted, compile them into a detailed expense report. A careful review can catch errors before submission, ensuring adherence to both company policies and IRS regulations.
Review Checklist for Categorized Receipts
Before drafting your report, double-check that each receipt includes the date, vendor, amount, and currency. For meal or group event receipts, make sure the business purpose and participants are clearly listed. According to IRS rules, receipts are required for business travel and entertainment expenses of $75 or more. Confirm that you have proper documentation for any expense exceeding this amount.
Compare your receipts with your corporate credit card statement to spot any missing transactions or duplicates. Pay attention to expenses with matching dates and amounts, as these often signal duplicate entries. Remove personal expenses entirely, or if a receipt includes both business and personal items, clearly indicate which portion relates to business. Additionally, ensure that all expenses comply with IRS limits, such as the $25 cap on client gifts. Each expense should also be assigned to the correct General Ledger (GL) code or department tag. Once everything is verified, you’re ready to consolidate the details into your final report.
Creating Your Expense Report
A complete expense report should summarize all categorized receipts, including details like the transaction date, vendor, amount, business purpose, expense category, and associated department or GL code. Group expenses by category and provide totals for each. Attach digital copies of receipts, especially for expenses over $75, as the IRS accepts clear and legible digital receipts.
If a receipt is missing, include a brief explanation or try to obtain a duplicate before submitting. Calculate the total expenses, and if there’s a significant discrepancy, revisit the details for potential errors.
Using EasyTripExpenses for Reporting
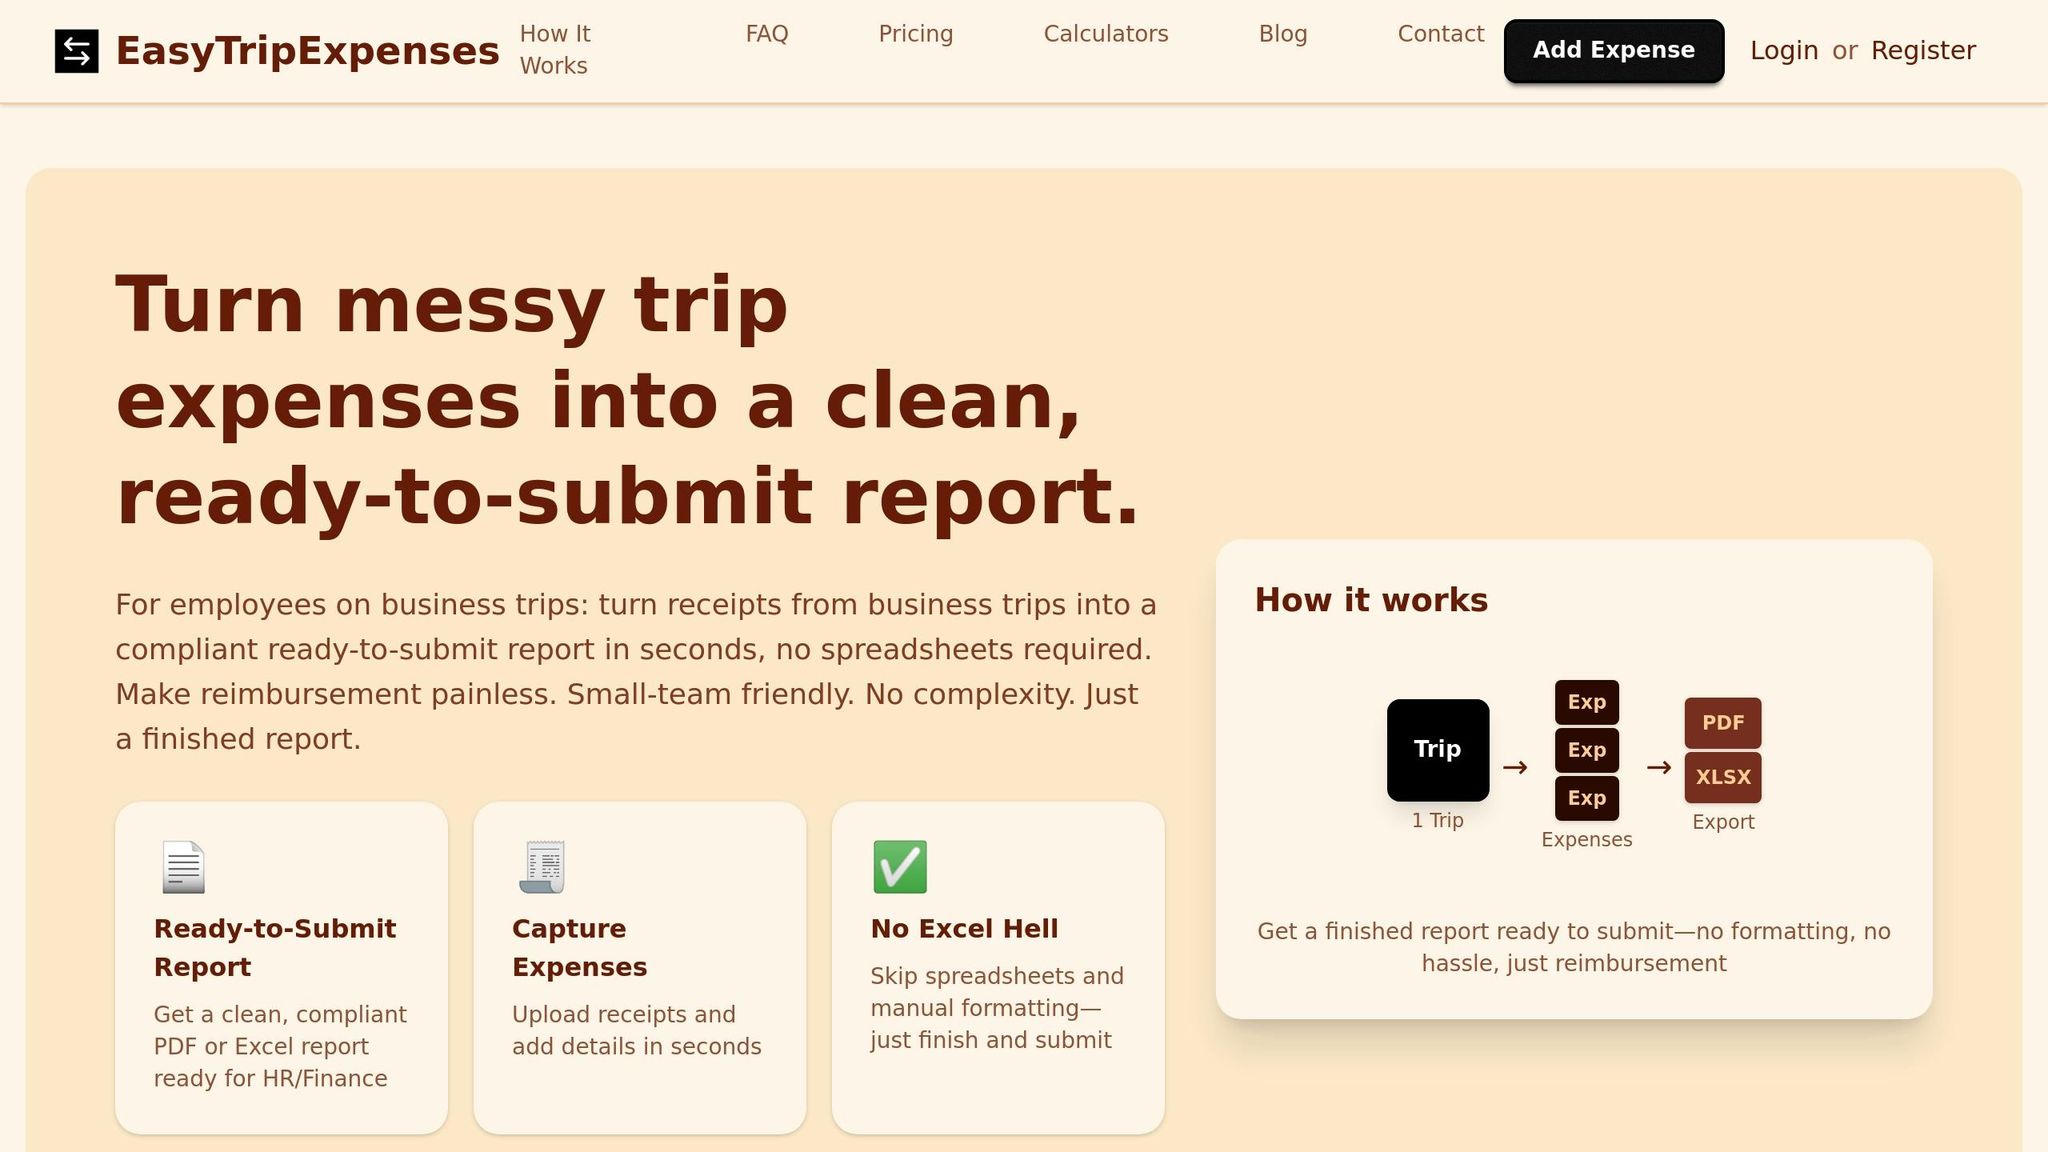
Digital tools like EasyTripExpenses can make the entire reporting process faster and smoother. With this platform, you can upload receipts via a mobile app, email, or text. It automatically categorizes expenses and generates professional reports in PDF or Excel formats. Using SmartScan technology, the platform captures essential receipt details - merchant, date, total, and currency - reducing the chance of manual entry mistakes. It also flags possible duplicates by checking for identical dates and amounts.
To speed up reconciliation, you can assign expenses to predefined categories at the time of purchase. For group meals, the attendee tracking feature allows you to split costs evenly and document participants for compliance. When it’s time to submit, EasyTripExpenses produces a clean, organized report with all necessary fields and attached receipts, ready for review and approval by your finance team.
| Required Report Field | What to Include |
|---|---|
| Transaction Date | The exact date of the expense |
| Merchant/Vendor | The name of the business where the purchase occurred |
| Amount | The total cost, including taxes and tips |
| Category | The type of expense (e.g., Lodging, Meals, Transportation) |
| Business Purpose | A brief explanation of why the expense was work-related |
| Receipt Attachment | A digital or physical copy of the receipt (required for $75+) |
Conclusion
The steps we’ve covered - from organizing receipts digitally to generating final reports - are designed to simplify your expense reporting process. By categorizing receipts to align with IRS requirements, you not only ensure compliance but also optimize your tax deductions. As Desirae Alejandre, Tax Professional at Desi Tax Service, puts it:
"Proper management of your business receipts helps you stay more organized, protects your business, and maximizes your tax deductions".
But it’s not just about staying compliant. Thoughtful expense categorization can uncover spending trends, helping you budget more effectively. For example, understanding exactly how much of your travel budget goes toward lodging, meals, or transportation allows you to make smarter decisions and even identify ways to cut costs. The BILL Team emphasizes:
"Categorizing expenses isn't just about prepping for tax season. Proper business expense categorization can prepare you for a future of growth and savvy financial management".
Digital receipt management systems also solve common issues like faded paper receipts and misplaced documentation. With modern platforms using OCR technology to automatically extract details like merchant names, dates, and amounts, manual entry errors are minimized, and you save valuable time.
For frequent business travelers, tools like EasyTripExpenses make receipt management effortless. Simply upload receipts via the mobile app or email, and the platform takes care of categorizing expenses automatically. In just minutes, you can generate polished PDF or Excel reports. The system also offers secure cloud storage for trip histories, handles currency conversions, and ensures every expense is ready for tax season - all without requiring IT support or training.
FAQs
What documentation does the IRS require for business trip expenses?
The IRS has specific requirements for documenting your business trip expenses. For any expense $75 or more, you must keep receipts or other proof of payment. These records should clearly show the date, amount, payee, location, and the business purpose of the expense. If it applies, include details about the business relationship or a description of the item purchased.
To qualify as a deductible business expense, the IRS also states that the travel must be ordinary, necessary, overnight, and generally over 100 miles from your home. Keeping your records accurate and well-organized not only ensures compliance but also makes tax season much easier to manage.
What’s the best way to organize digital receipts for business trips?
To keep your digital receipts tidy and meet IRS requirements, here’s a straightforward approach:
- Snap receipts right away: As soon as you get a receipt, take a clear photo or scan it. Apps like EasyTripExpenses make it simple to upload and securely store them in the cloud.
-
Stick to a naming system: Rename files using a consistent format like
YYYY-MM-DD_ExpenseType_Vendor_Amount(e.g.,2025-12-03_Airfare_Delta_425.00.pdf). This makes searching and sorting a breeze. - Label by category and project: Use tags like Airfare, Lodging, or Meals, and add the trip or project name for quick reference later.
- Create organized folders: Start with a main folder called “Business Receipts.” Inside, break it down by year, month, and category to keep everything easy to find.
- Back up your files: Choose a cloud storage service with automatic backups and strong security features, like two-factor authentication, to keep your financial data safe.
By following these steps, you’ll streamline expense tracking, simplify reporting, and stay on top of IRS documentation requirements for business travel.
What are common mistakes to avoid when organizing business trip expenses?
To keep your business trip expenses organized and accurate, steer clear of these common pitfalls:
- Combining personal and business expenses: Keep personal costs, like souvenirs or upgraded hotel rooms, separate from business-related expenses. Mixing them up can cause tax complications and lead to disallowed deductions.
- Missing or inconsistent details: Always label receipts with the right category (like meals, lodging, or transportation), the trip date, and any relevant project or client. Incomplete or inconsistent details can lead to reporting errors and make audits a headache.
- Ignoring currency conversion and tax rules: For international trips, make sure to convert foreign expenses into U.S. dollars accurately and follow tax regulations. Errors here can create mismatched totals and compliance issues.
By keeping things organized, detailed, and aligned with tax rules, you’ll make your expense reports easier to manage and free of unnecessary hassles.